English Premier League fantasy competition with a difference. The intention of FFLau is to have a fantasy league that requires a very small time investment, with only 3 team selections required for the duration of the entire season.
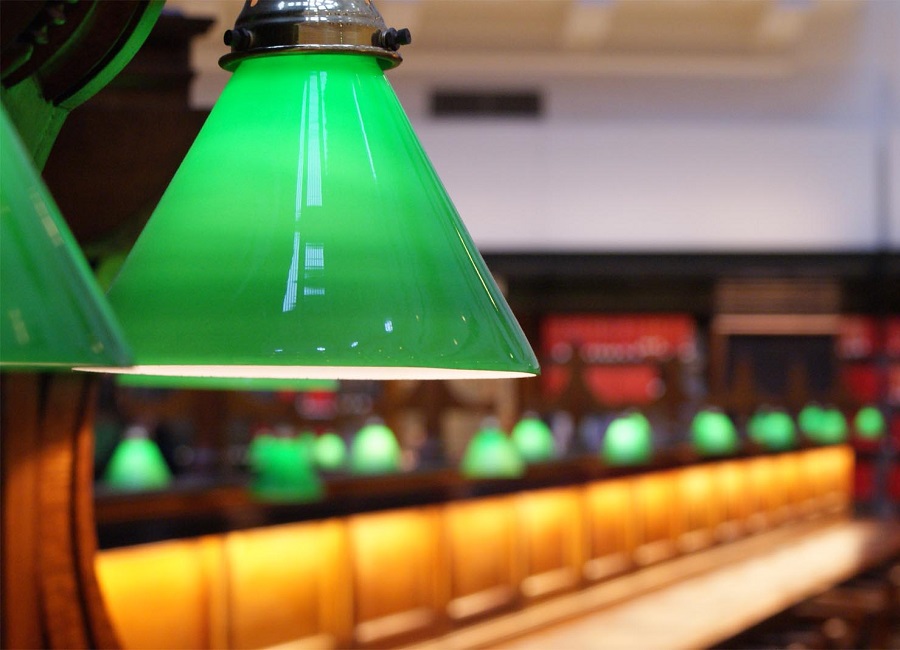
BYO Booze was an experimental site mapping BYO restaurants and Bottle Shops. Included Search by GPS or postcode, google maps, and a minimalist blogging engine based on tinymce.
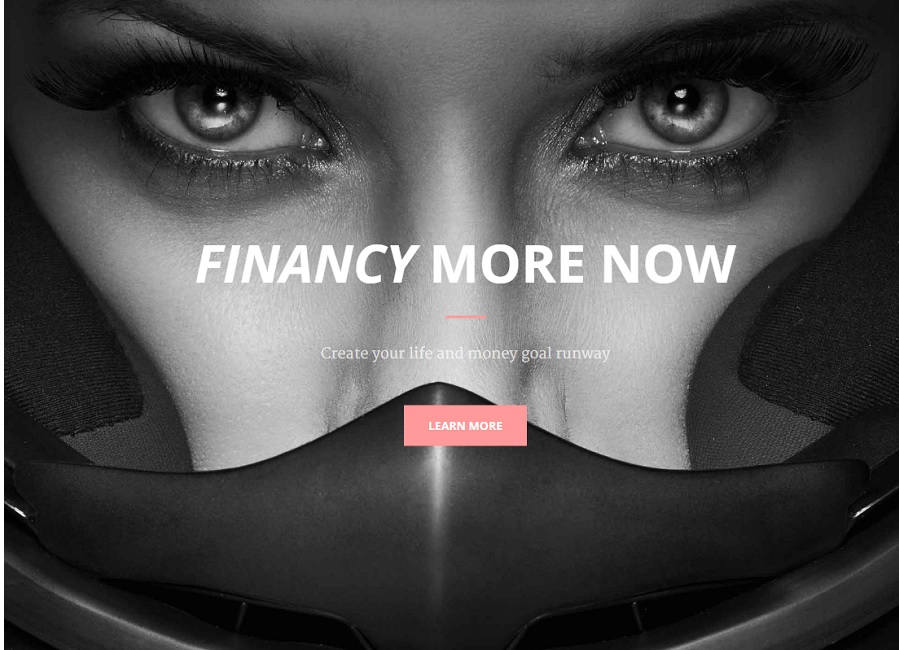
Use this area of the page to describe your project. The icon above is part of a free icon set by Flat Icons. On their website, you can download their free set with 16 icons, or you can purchase the entire set with 146 icons for only $12!
Use this area of the page to describe your project. The icon above is part of a free icon set by Flat Icons. On their website, you can download their free set with 16 icons, or you can purchase the entire set with 146 icons for only $12!